Get Happiness Is A Magnet WordPress Theme at 60% Off. Use code SALEHAPPINESS at checkout!


How To Add The Pinterest Widget To WordPress
Does your WordPress website have a Pinterest Widget? A Pinterest Widget is a box that displays your latest pins and allows website visitors to click on the tab “Follow On Pinterest” and go straight to your Pinterest account. My Pinterest widget is posted on my sidebar. It is an awesome way to increase Pinterest followers. Below, I have shared with you how to add your own Pinterest Widget to your WordPress blog or website.

Step 1 – Create The Pinterest Widget
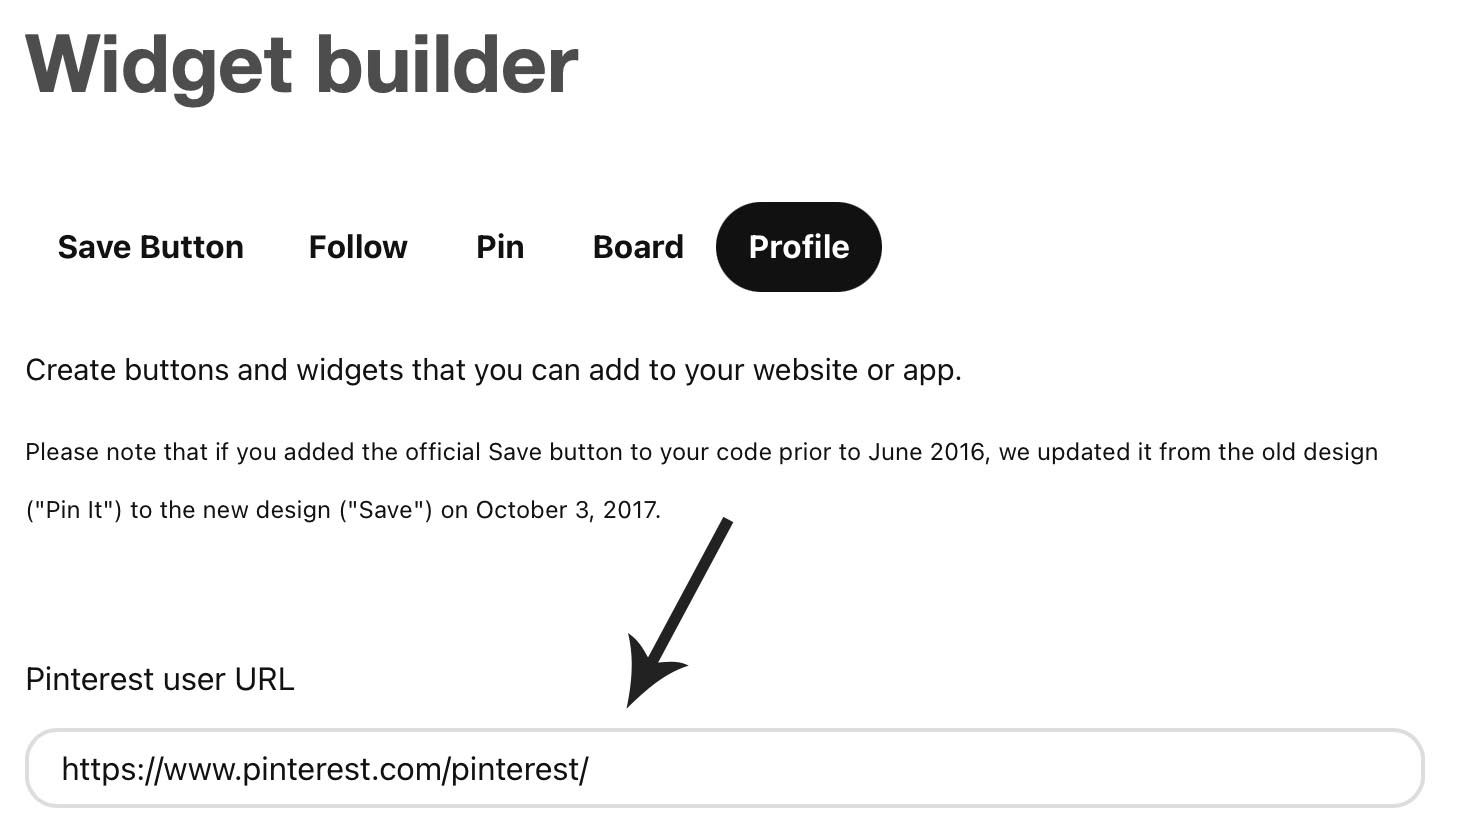
Step 1 – Click on this link to go to the Pinterest Widget Builder Tool.
Step 2 – Where it says “Pinterest User URL” (see image below)… replace that link with your Pinterest URL.
Step 2 – Add The Pinterest Code To The Sidebar
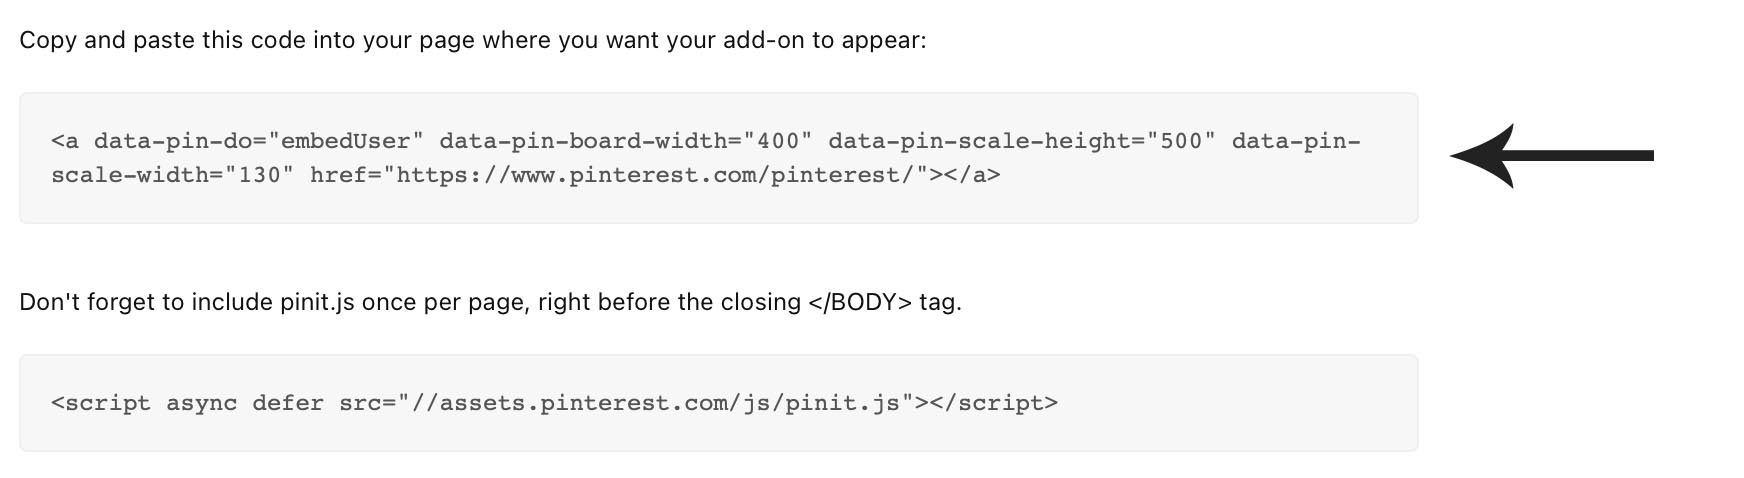
Step 1 – Copy the code where it says “Copy and paste this code into your page where you want your add-on to appear:”.
Step 2 – Next, log in to your WordPress site dashboard.
Step 3 – Click on “Appearance” then “Widgets”.
Step 4 – Click on “Custom HTML” then chose “Primary Sidebar”.
Step 5 – Paste the Pinterest code then click “Save”.
Add The Pinterest Script
(if you use a Studio Mommy theme follow these steps)
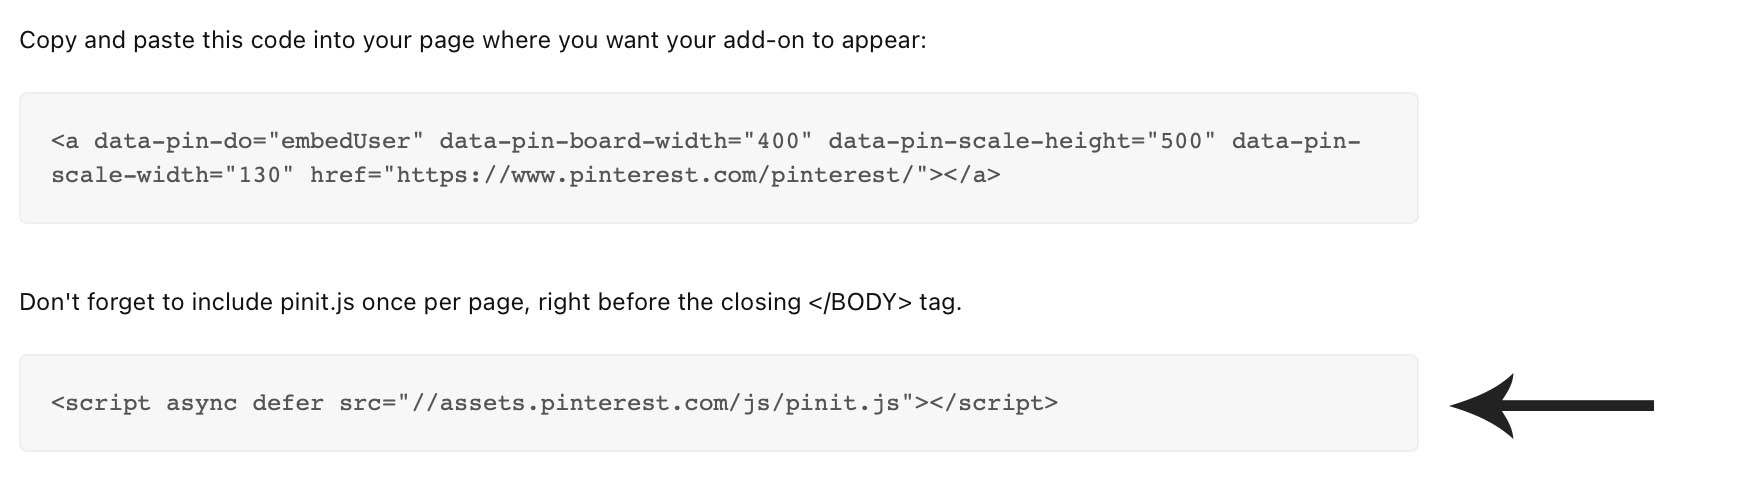
Step 1 – Copy the code where it says: “Don’t forget to include pinit.js once per page, right before the closing </BODY> tag.“.
Step 2 – Go back to your WordPress site dashboard.
Step 3 – Click on “Appearance” then “Customize”.
Step 4 – Click on “Theme Settings” then “Header/Footer Scripts”.
Step 5 – Paste the code in the “Footer Scripts” box then click “Publish”.
(if you are NOT using a Studio Mommy theme follow these steps)
Step 1 – Copy the code where it says: “Don’t forget to include pinit.js once per page, right before the closing </BODY> tag.”.
Step 2 – Go back to your WordPress site dashboard.
Step 3 – Click on “Plugins” then “Add New”.
Step 4 – Search for Insert Headers and Footers by WPBeginner.

Step 5 – Click “Install” then “Activate”.
Step 6 – After activating, go to “Settings” then “Insert Headers and Footers”. After that, paste the code that you copied earlier into the “Scripts in Footer” section.
Step 7 – Lastly, click on the save changes button.
In conclusion, I hope that you have found this tutorial helpful. It has definitely help me grow my Pinterest followers over the past few months. Just by simply adding the Pinterest Widget.
If you have any questions, please leave them in the comment section, I love hearing from you!
Other Tutorials You May Like:

Hi 🤗! I want to help you create a website you love 💕 where you are excited to work or blog. Come see our easy to use, feminine, beautiful designs.

WordPress Themes
Leave a Reply

You’ve put in the work to make awesome content, now it’s time to dress up your site with a stunning design.

Hey, do you have to have a blog+ subscription for this? thanks x
Hi Kate! Great question. I will update the tutorial to include instructions for Showit. But for now, I will send you an email with more information for Showit sites. Thanks.