Happiness Is A Magnet Theme 60% OFF. Use code SALEHAPPINESS at checkout. Click Here!!


How To Add Google Analytics To WordPress
This is one of the top 10 ten questions I get asked a lot by my customers, “How to add google analytics to WordPress?”. Likewise, it’s also one of the easiest and simplest to answer. Follow these steps to add your Google Analytics code.

Hello! Before we get started, I’d love to connect with you on Instagram! Let’s talk blogging, business and passive income! Connect with me here!
Why Is Google Analytics Important
Google Analytics is an awesome tool to show you how your blog or business is doing online. It shows you the actions of your users and how they interact with your content. In addition, Google Analytics can help by showing you which content relates to your audience and what content does not. Equally important, this information can help you determine what your next blog post will be.
Google Analytics can also help you create new ways to grow your blog and increase traffic. Most importantly, it can also help improve your online marketing strategy. And the best part is, it’s totally free!
How To Signup With Google Analytics
Step 1 – Create your Google Analytics account by clicking here. Then click “Start for Free”.
Step 2 – Sign into your Google account or create an a new account.
Step 3 – After you signup, you will see a page that looks like this:

Step 4 – Click “Start Measuring”.
Step 5 – Next, you will be asked for an “Account Name”. This is for your eyes only. You can use any name you prefer, like your business name.
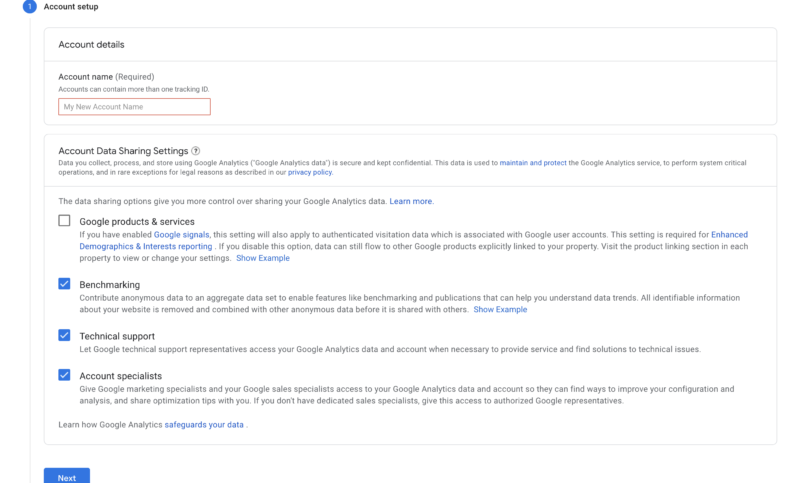
Step 6 – Check the boxes you agree to then click “Next”.
Step 7 – On the next screen, you will be asked for a “Property Name”. You will put the name of your website here (not the URL… only the name of your website). Keep in mind that many ‘Businesses’ have different websites.
Step 8 – Adjust the “Reporting Time Zone” and “Currency” then click “Next”.
Step 9 – Fill out the “Business Information” then click “Create”.
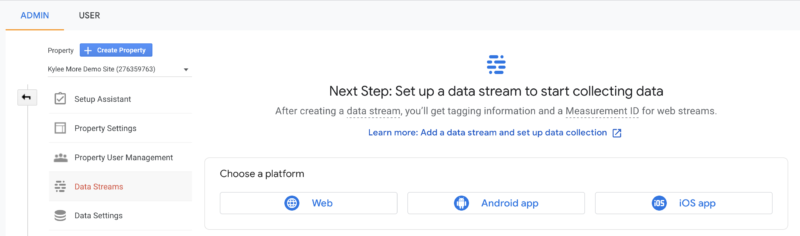
Step 10 – On the next page it will ask you to “Set Up A Data Stream”, as shown in the image below. Click on “Web”.
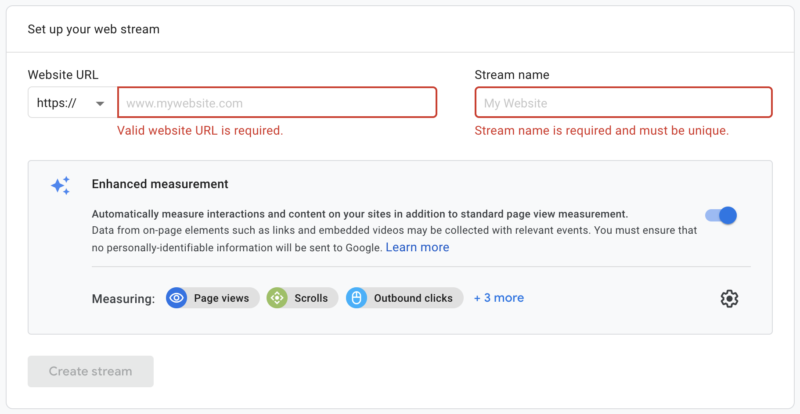
Step 11 – Lastly, add your website’s URL then give it a name (stream name). Click “Create Stream”.
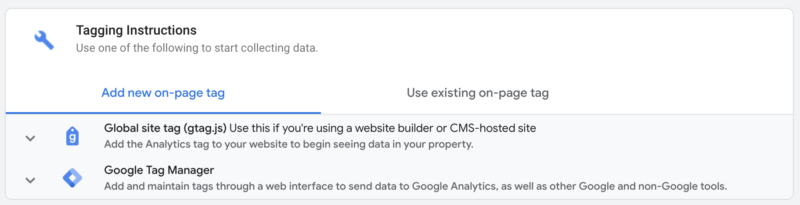
Step 12 – Where it says “Tagging Instructions”… click on “Global site tag”.
Step 2 – Highlight and copy the code given.
How to Install Google Analytics Code in WordPress
What You Can Track Using Google Analytics
- User Engagement
- WooCommerce Customers
- Outbound Links And Conversion Rates
- Bounce Rate
- Sources For Incoming Traffic
In conclusion, Google Analytics is a helpful tool for bloggers. By reviewing and documenting your stats, you will have a birds-eye view of how your blog performs, what users do when they visit, and other valuable information.
Pin for Later…
Hi 🤗! I want to help you create a website you love 💕 where you are excited to work or blog. Come see our easy to use, feminine, beautiful designs.

WordPress Themes

You’ve put in the work to make awesome content, now it’s time to dress up your site with a stunning design.

facebook
twitter
pinterest
share & save:
xoxo, april