Happiness Is A Magnet Theme 60% OFF. Use code SALEHAPPINESS at checkout. Click Here!!


How to use a Custom Font on your WordPress Site
Most WordPress themes, including my own, come with basic Google Fonts. Which is not bad. I also have a tutorial on how to use and change Google Fonts. But, what if you want to use a custom font you purchased from… let’s say Creative Market (affiliate), my number one place to purchase fonts, so the rest of your site matches your logo or brand.
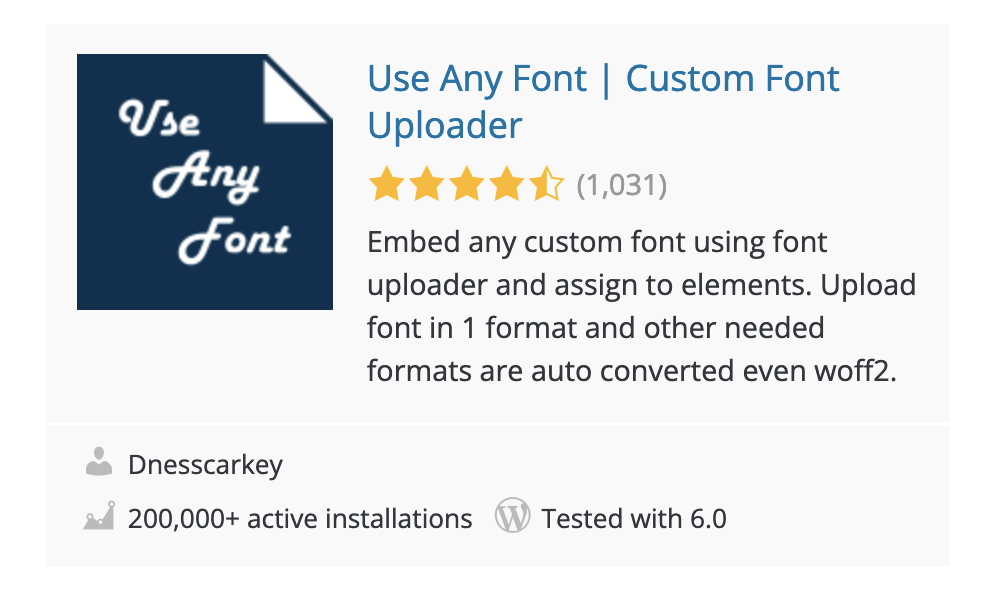
That’s where a plugin comes in handy. Use Any Font plugin was created by Dinesh Karki and was rated #1 by WPMUDev.org.
With this plugin you’re allowed to upload one custom font for free but for a reasonable monthly fee you can get unlimited uploads for a lifetime.
Here’s how you would upload a custom font to WordPress and assign it to the elements you choose.
Why not check out my beautifully designed, feminine, WordPress themes by clicking HERE.
Step 1.
First we need to click on Plugins >> Add New. In the Search box type in Use Any Font. Then click Install Now >> Activate.
Step 2.
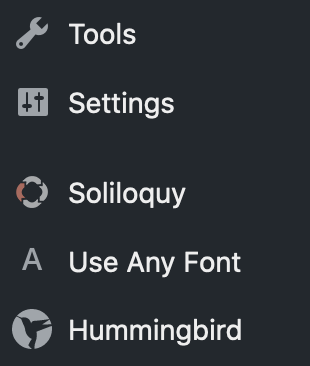
When the plugin is installed you’ll see the Use Any Font on the left sidebar of your admin dashboard. Click on it.
Step 3.
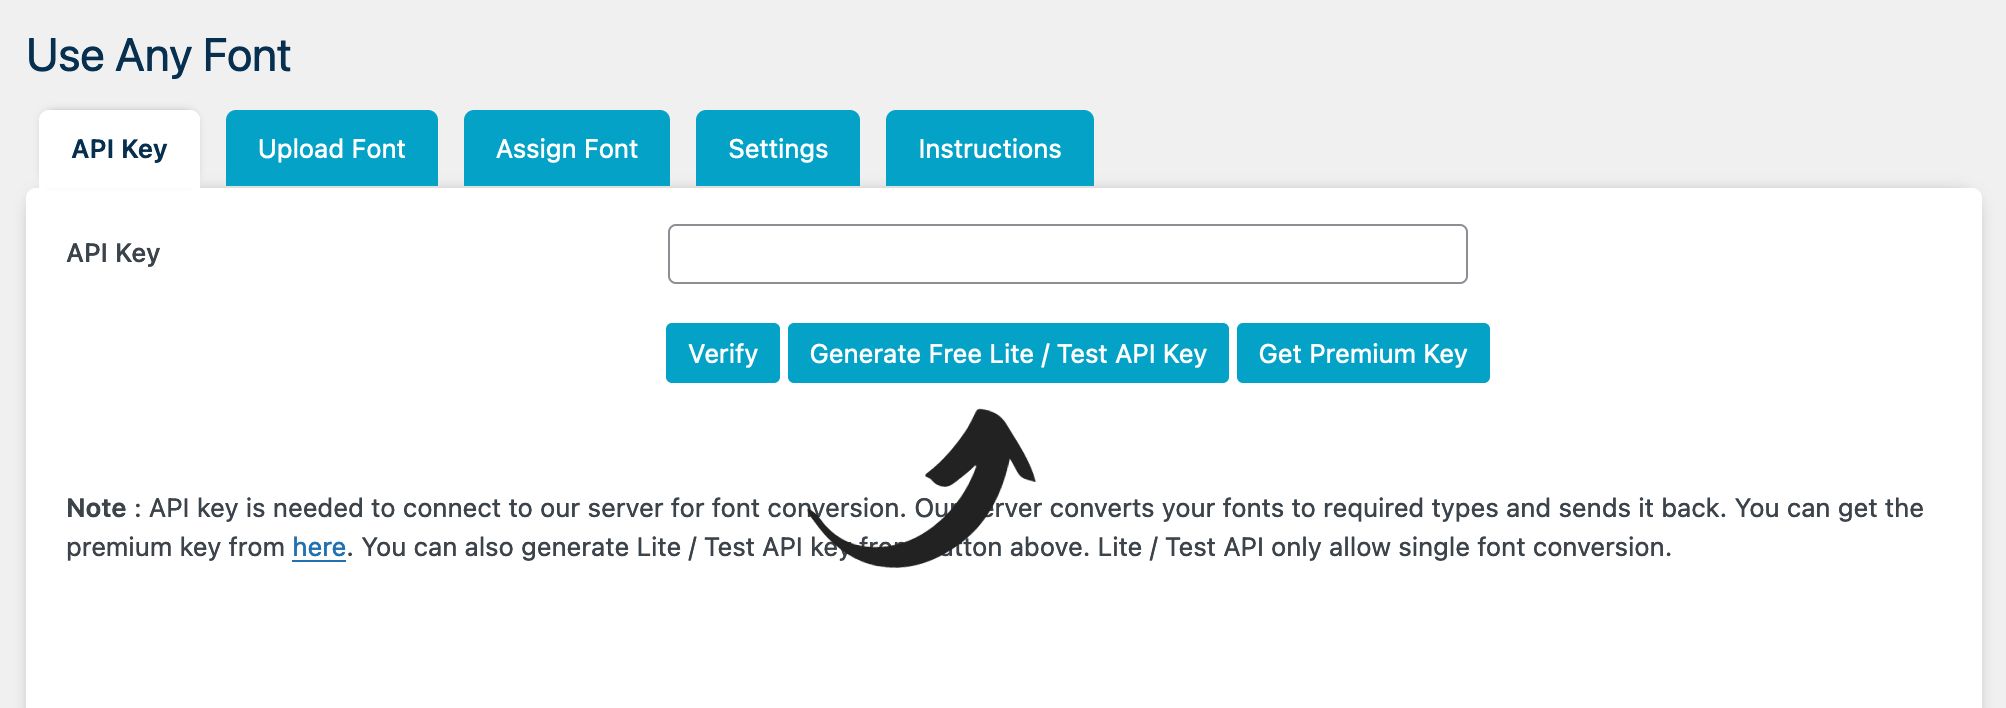
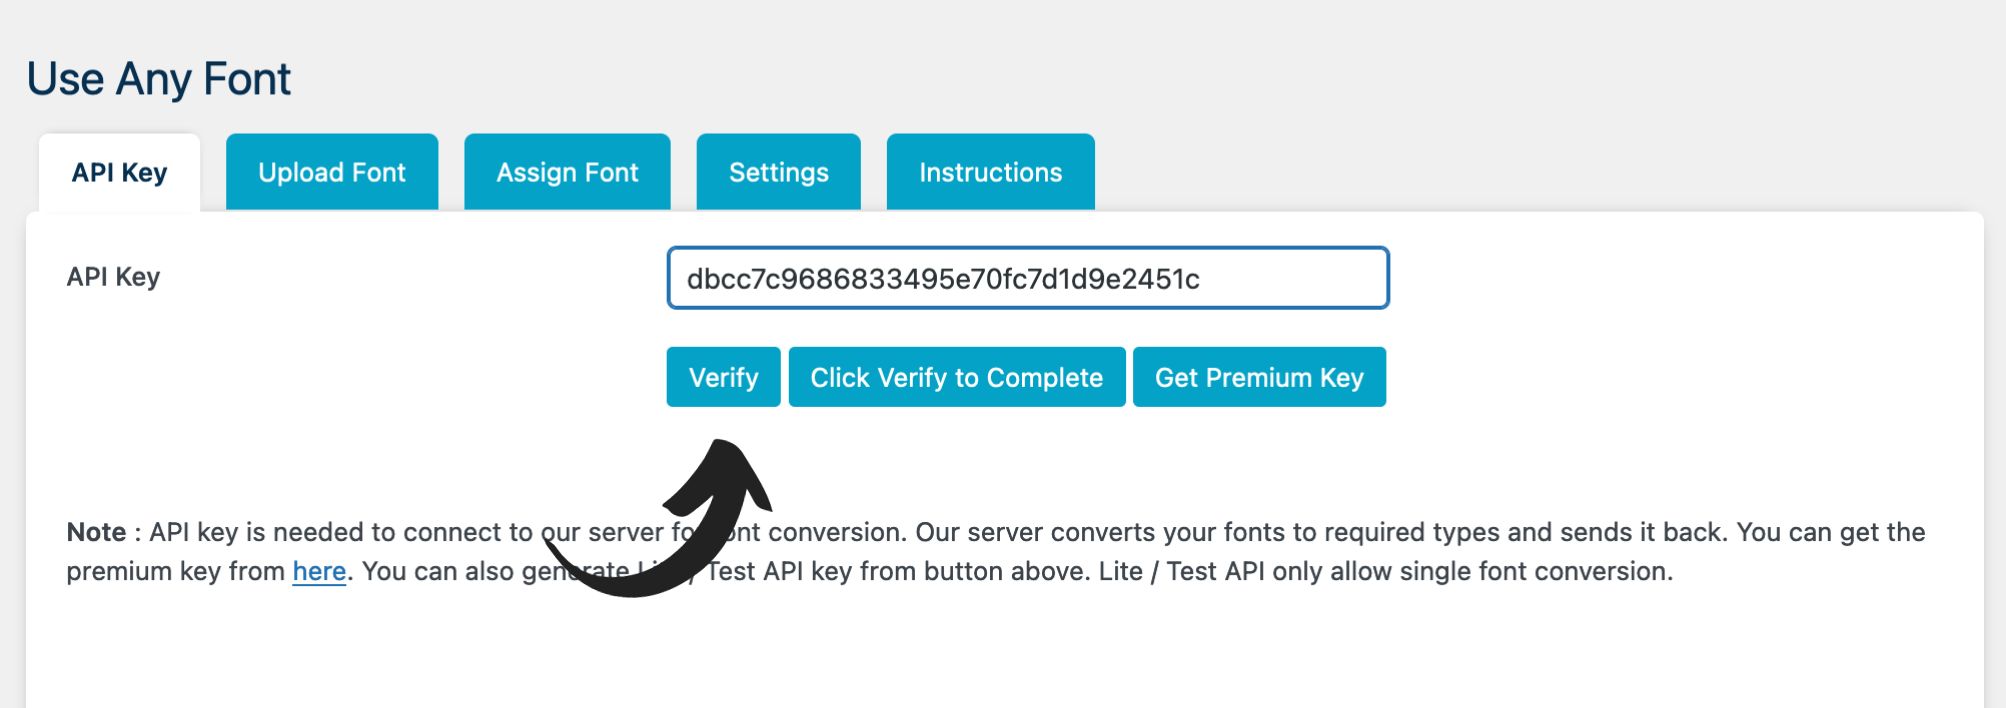
The first thing you will want to do is get an API key. Click on ‘Generate Free Lite/Test API Key’. This will auto-populate an API key for you to allow you to use one font file.
Step 4.
Then click the ‘verify’ button to make sure the API key is good to go.
Optional Upgrade
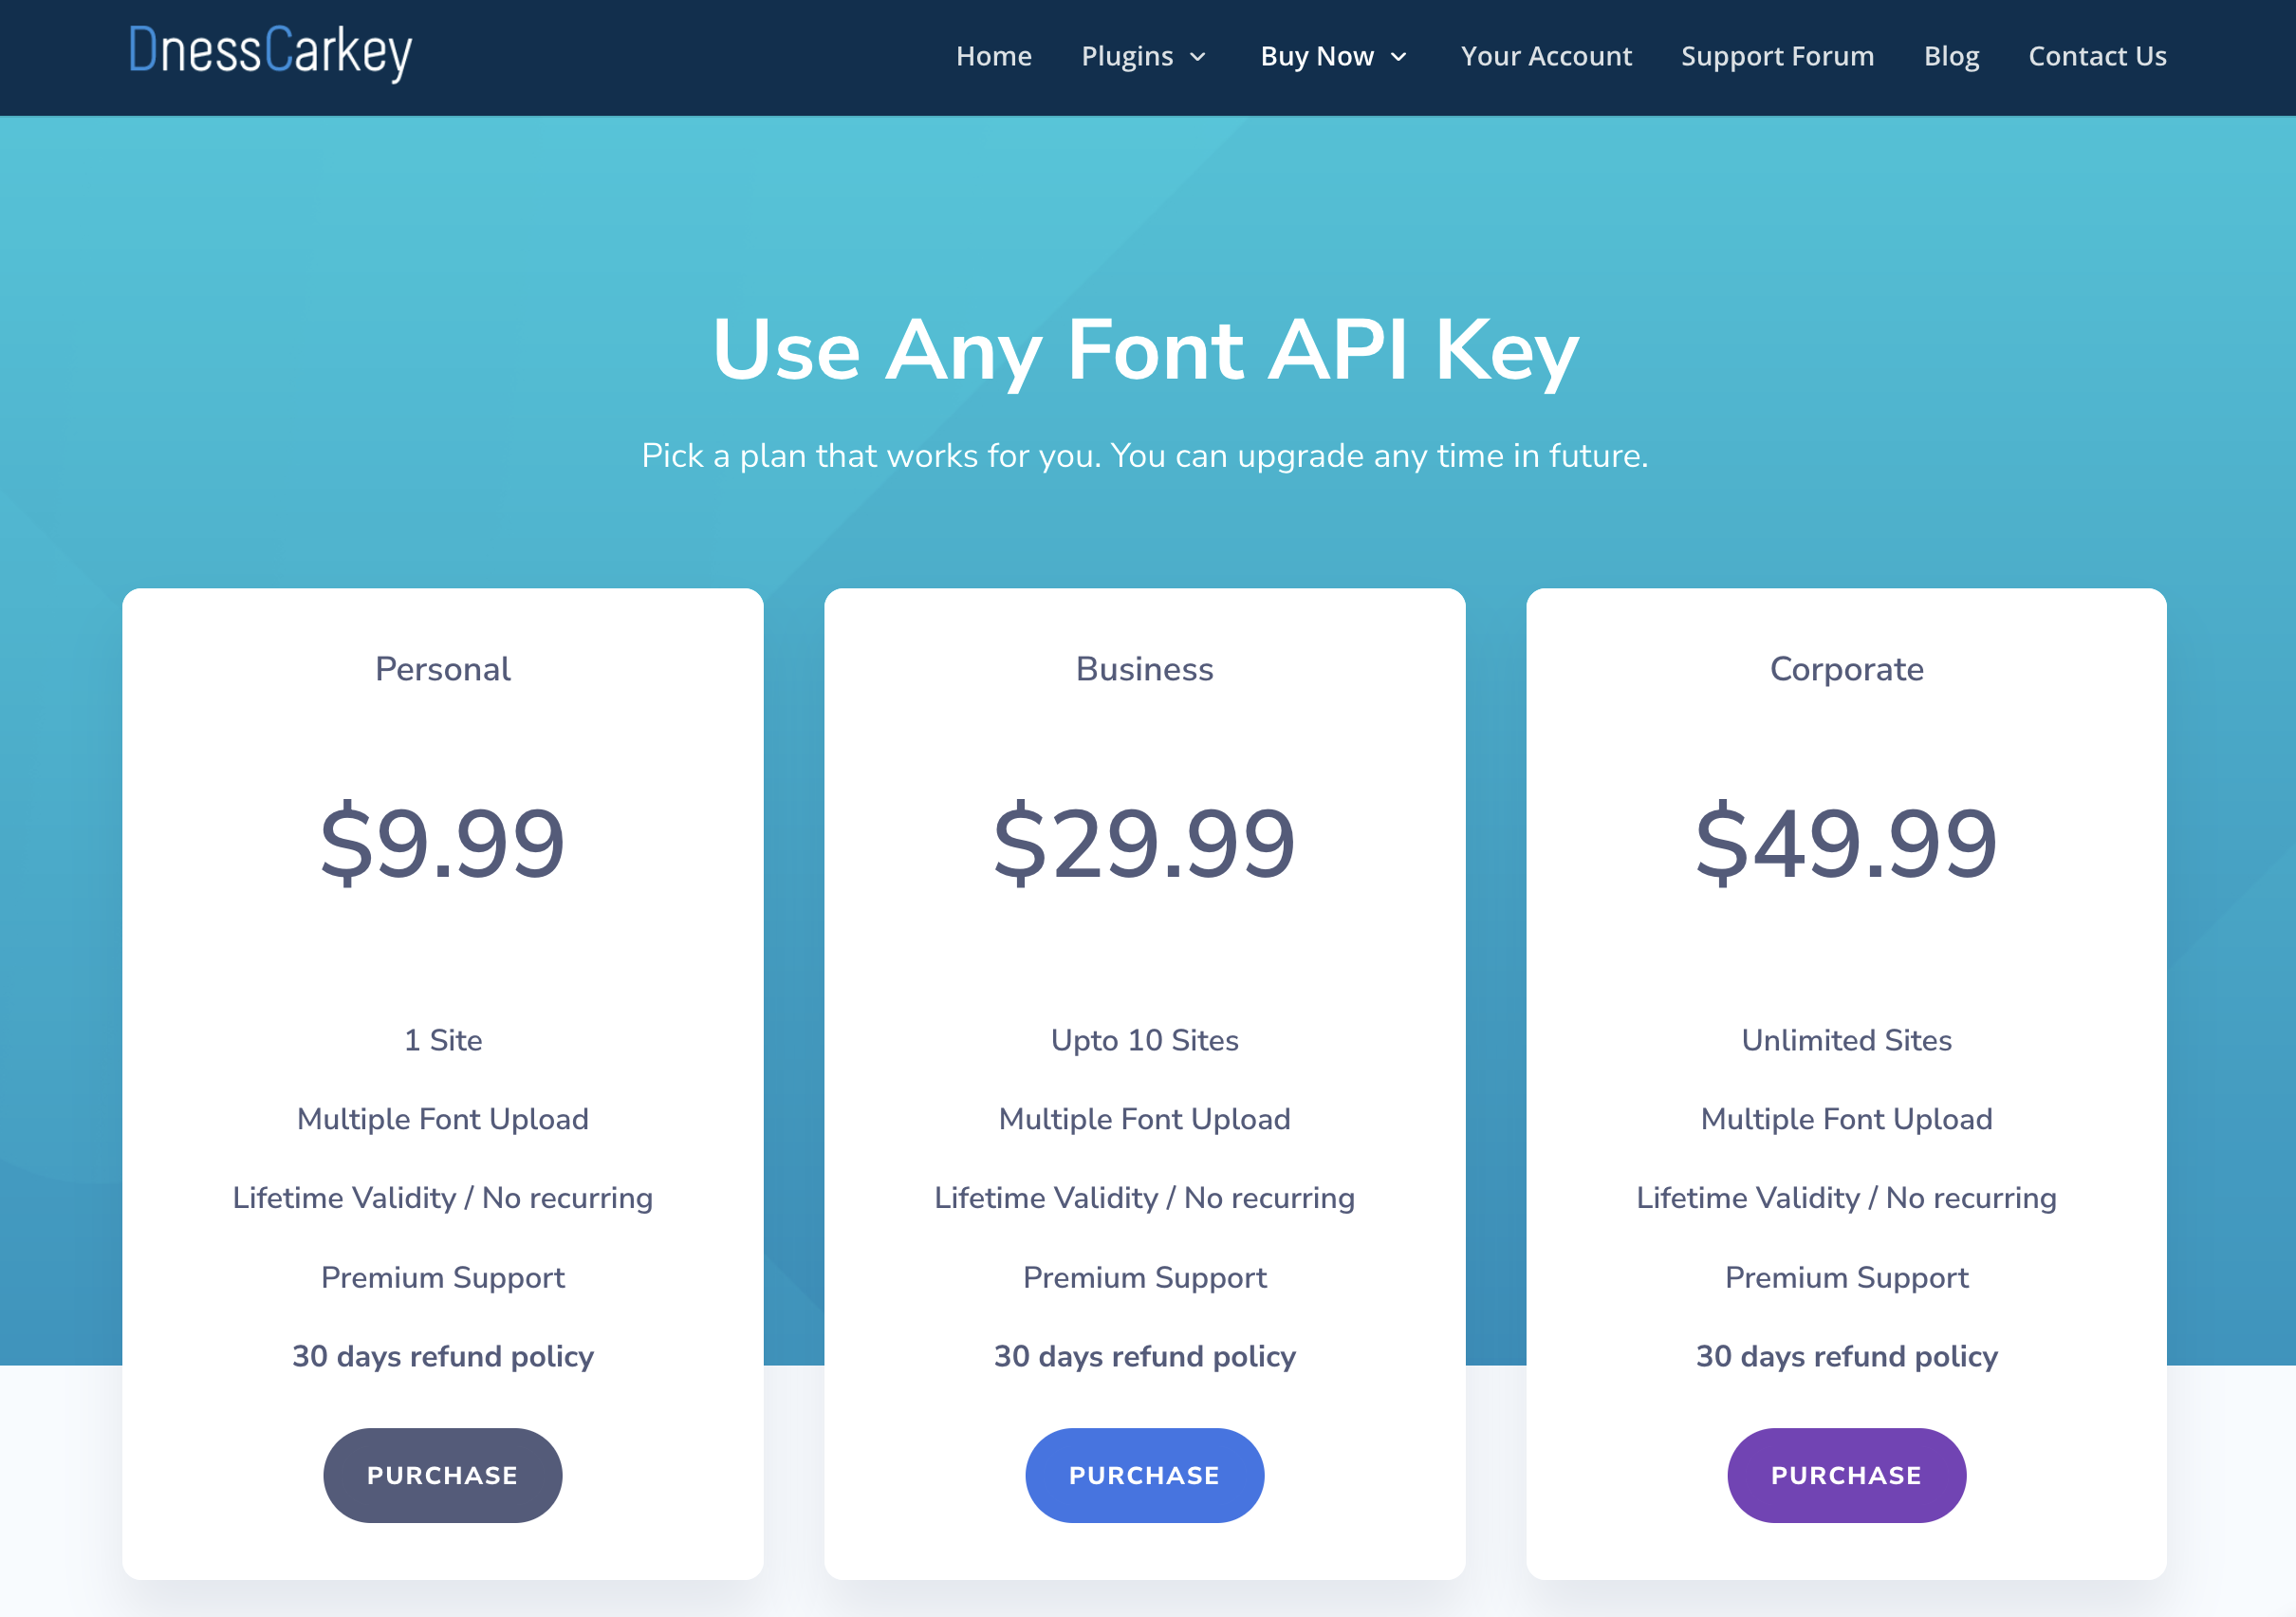
If you would like to upgrade to use unlimited fonts, click on the blue button that says “Get Premium Key”. When you do that, you’ll be taken to the DnessCarkey website to select the plan that’s best for you.
After you’ve made your purchase, go back to the Use Any Font set up page.
Step 5.
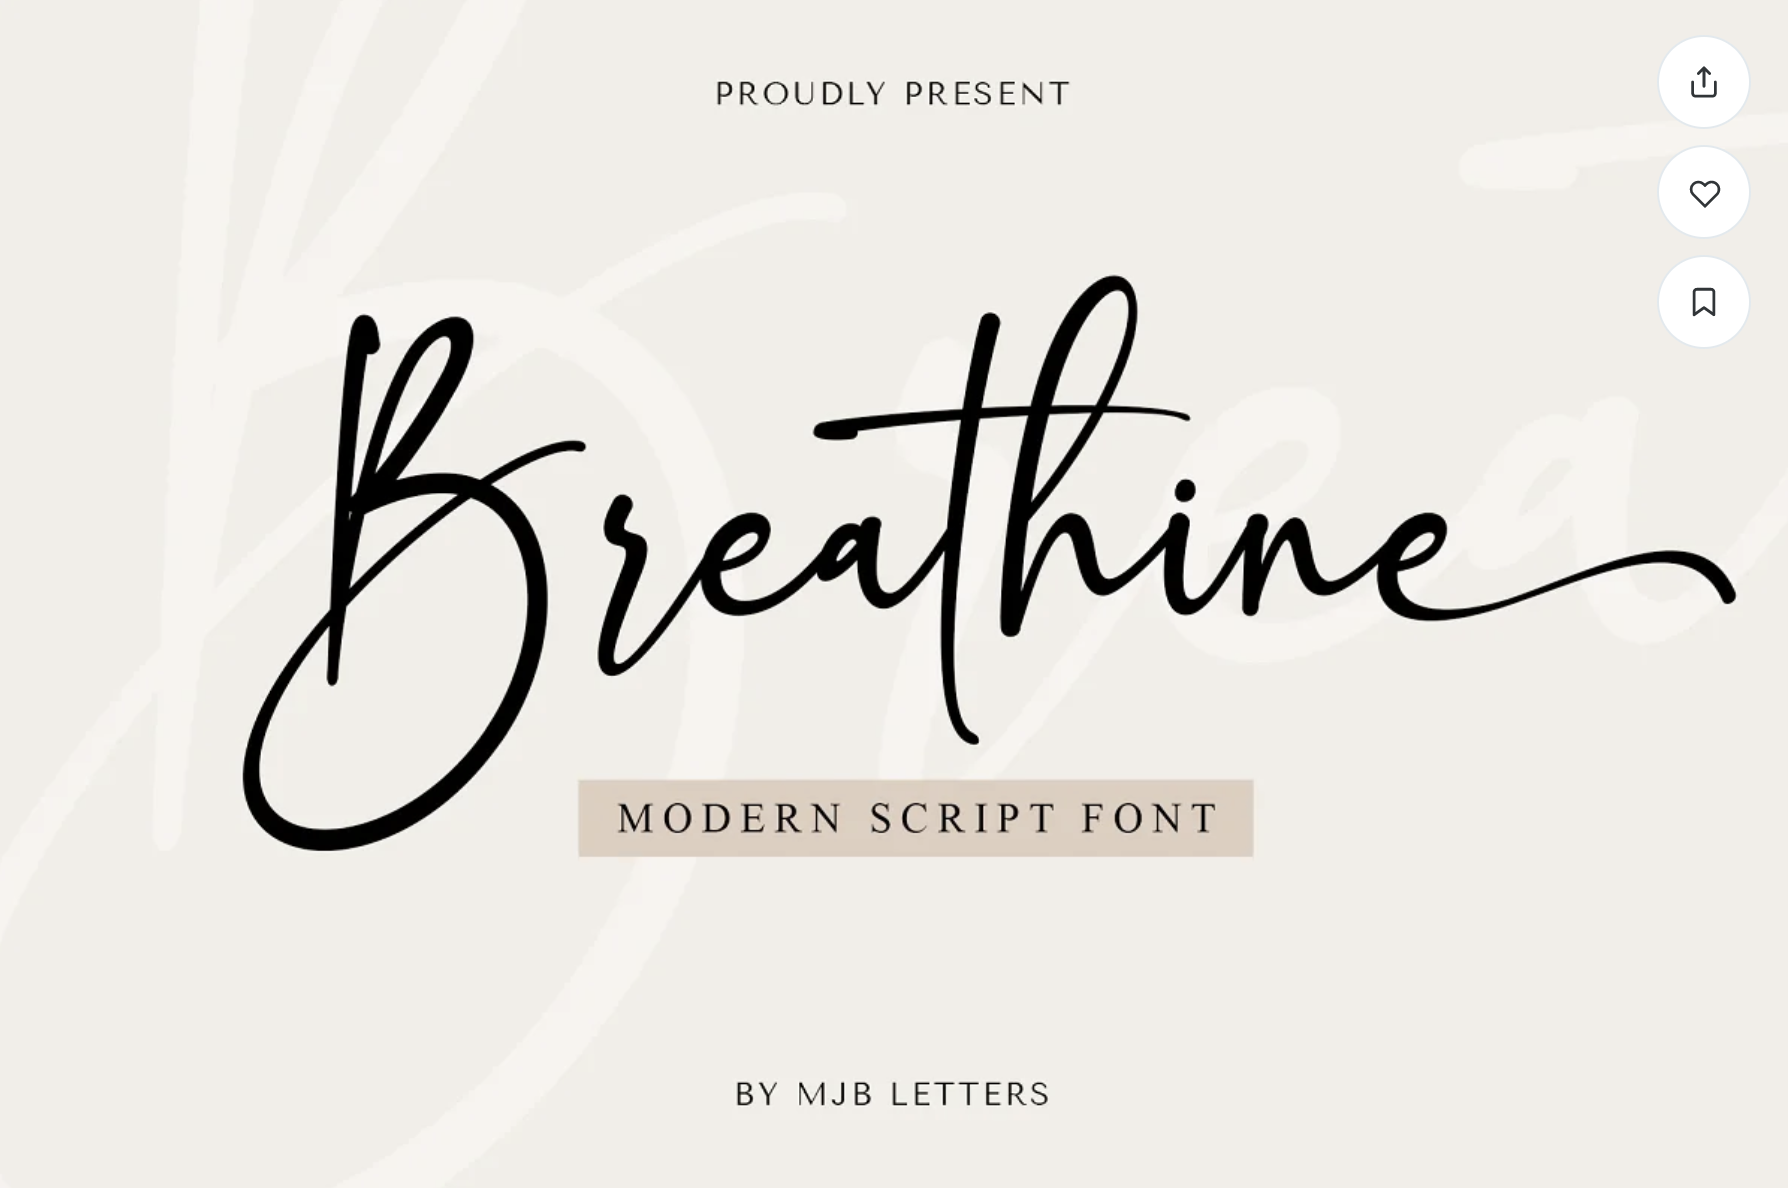
In order to follow this next step you will need to have a custom font. I like to purchase my fonts from Creative Market (affiliate). For this tutorial I’m using the Breathine font.
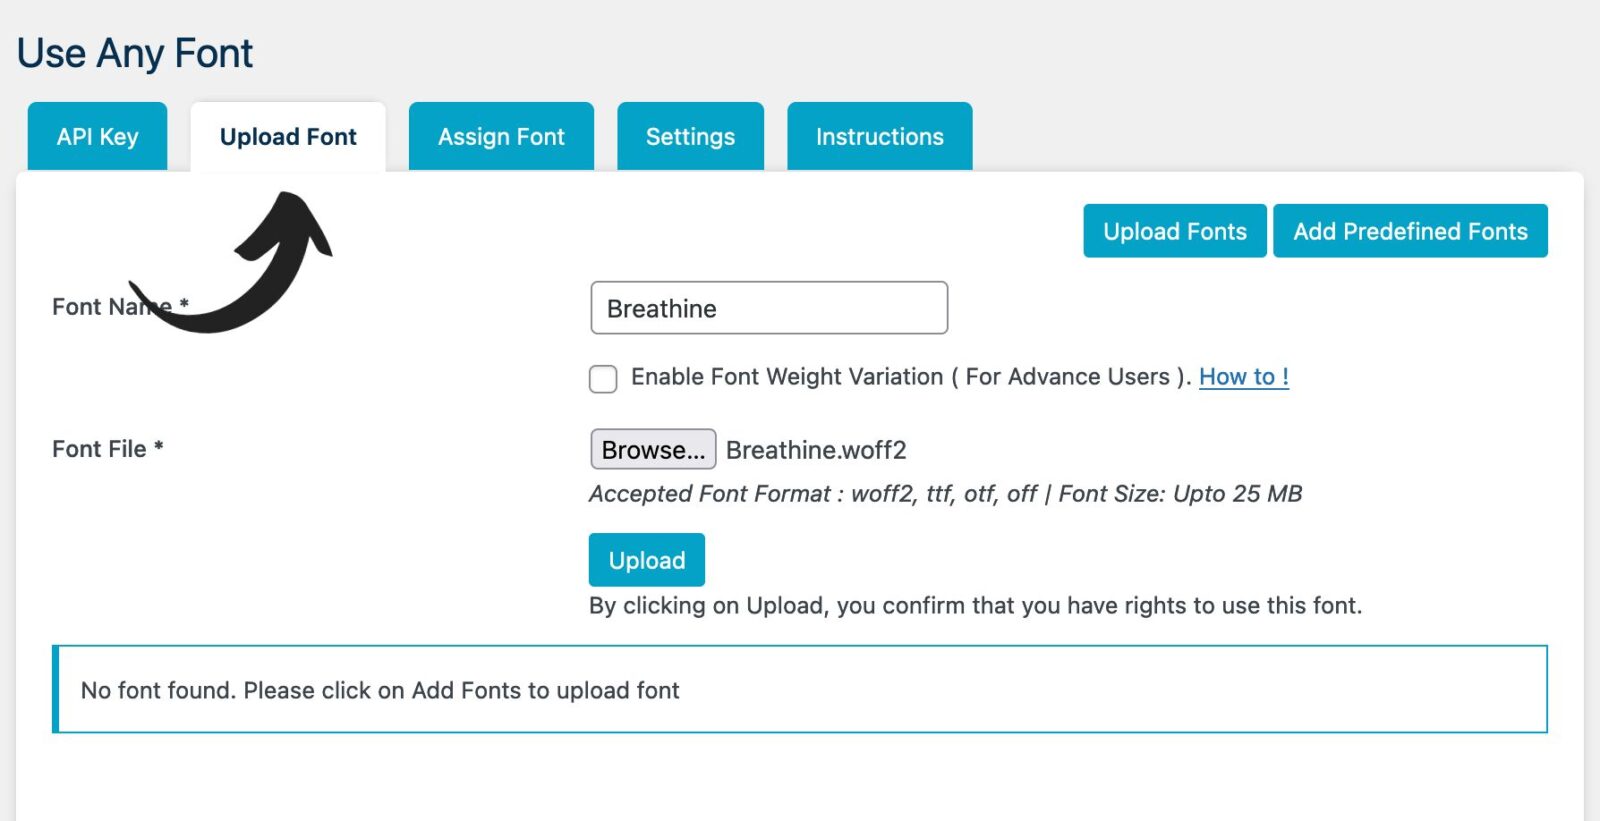
Back to the plugin. Under the ‘Upload Font’ section click on ‘Upload Fonts’. Type in a font name and then click ‘browse’ to select the font file you want to use. Next click ‘upload’.
Step 6.
Now you have to assign your font to a text style. Click on ‘assign font’ in the Assign Font section.
Next to ‘Select Font’ click the drop down to select your font. Right below that, tick the element or elements you want to assign the font to.
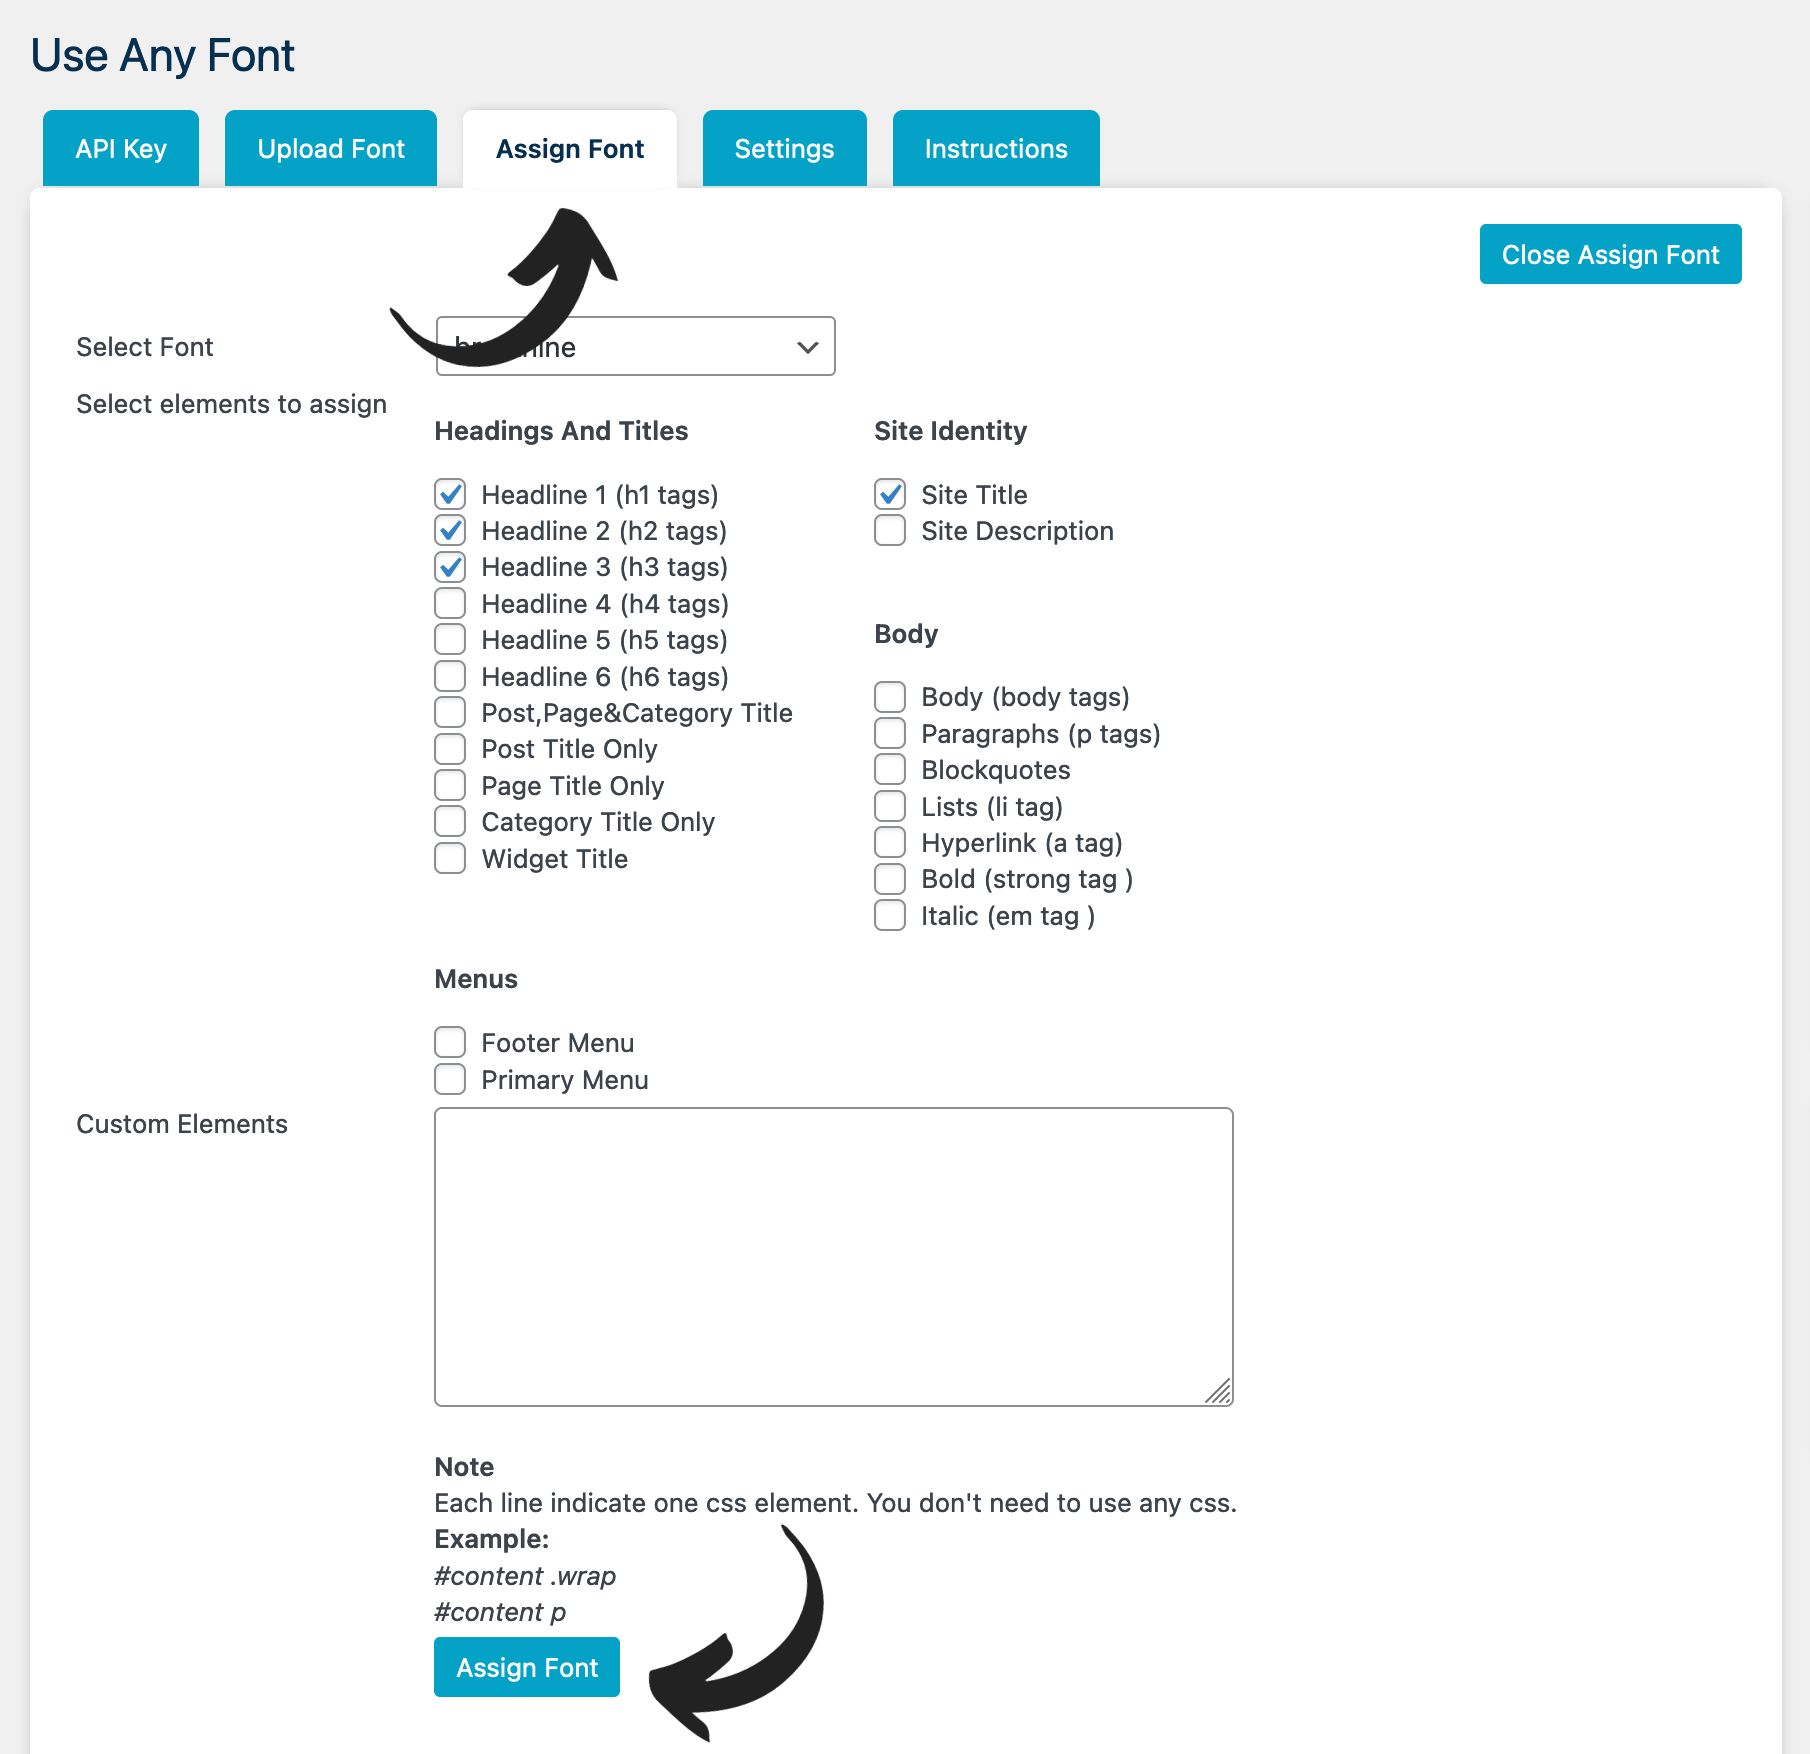
Click the ‘assign font’ button at the bottom to save your changes. And finally, to see if the changes took place, click the link to your site at the top left to preview. If you don’t see any changes, try clearing your cache and refresh the screen.
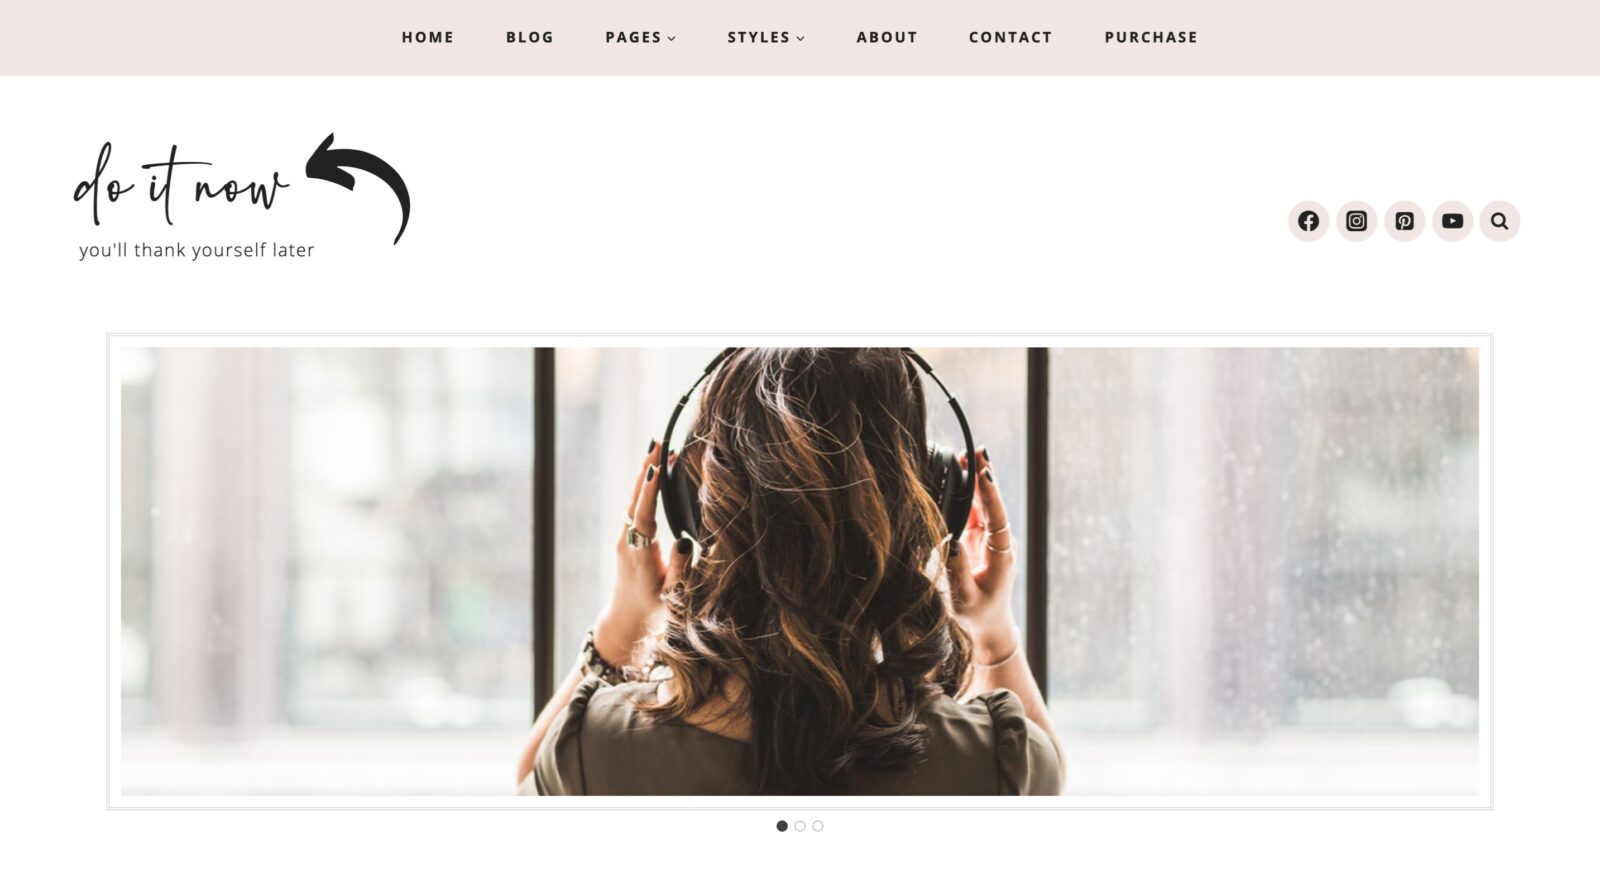
Theme used in this tutorial is the Happiness is a Magnet theme.
Wrapping It Up
That’s it! Super easy right? You may need further adjustments to your font like the size or spacing, depending on your theme and font used. I did have to make the site title on the “Happiness Is A Magnet” theme larger for the Breathine font. If you are using a Studio Mommy theme and need help with the sizing, spacing, etc. just shoot me an email and I will help you out with that.
I would love to hear what you think about this plugins in the comments. And before you go, please share this post on social media, thanks!
Other Tutorials You May Like:
- Best Feminine Font Pairings
- How to use Google Fonts on your WordPress Site
- How to Change the Number of Posts

Hi 🤗! I want to help you create a website you love 💕 where you are excited to work or blog. Come see our easy to use, feminine, beautiful designs.

WordPress Themes
Leave a Reply

You’ve put in the work to make awesome content, now it’s time to dress up your site with a stunning design.

thank you for this tutorial. It’s very clear and exactly what I was looking for!
x b
You’re welcome.